How I Took The Pictures
In 2022, my high school organized a school wide science photo contest, where each submission was judged based on how well it demonstrates a scientific concept or phenomenon, as well as the photographic composition of the photo.
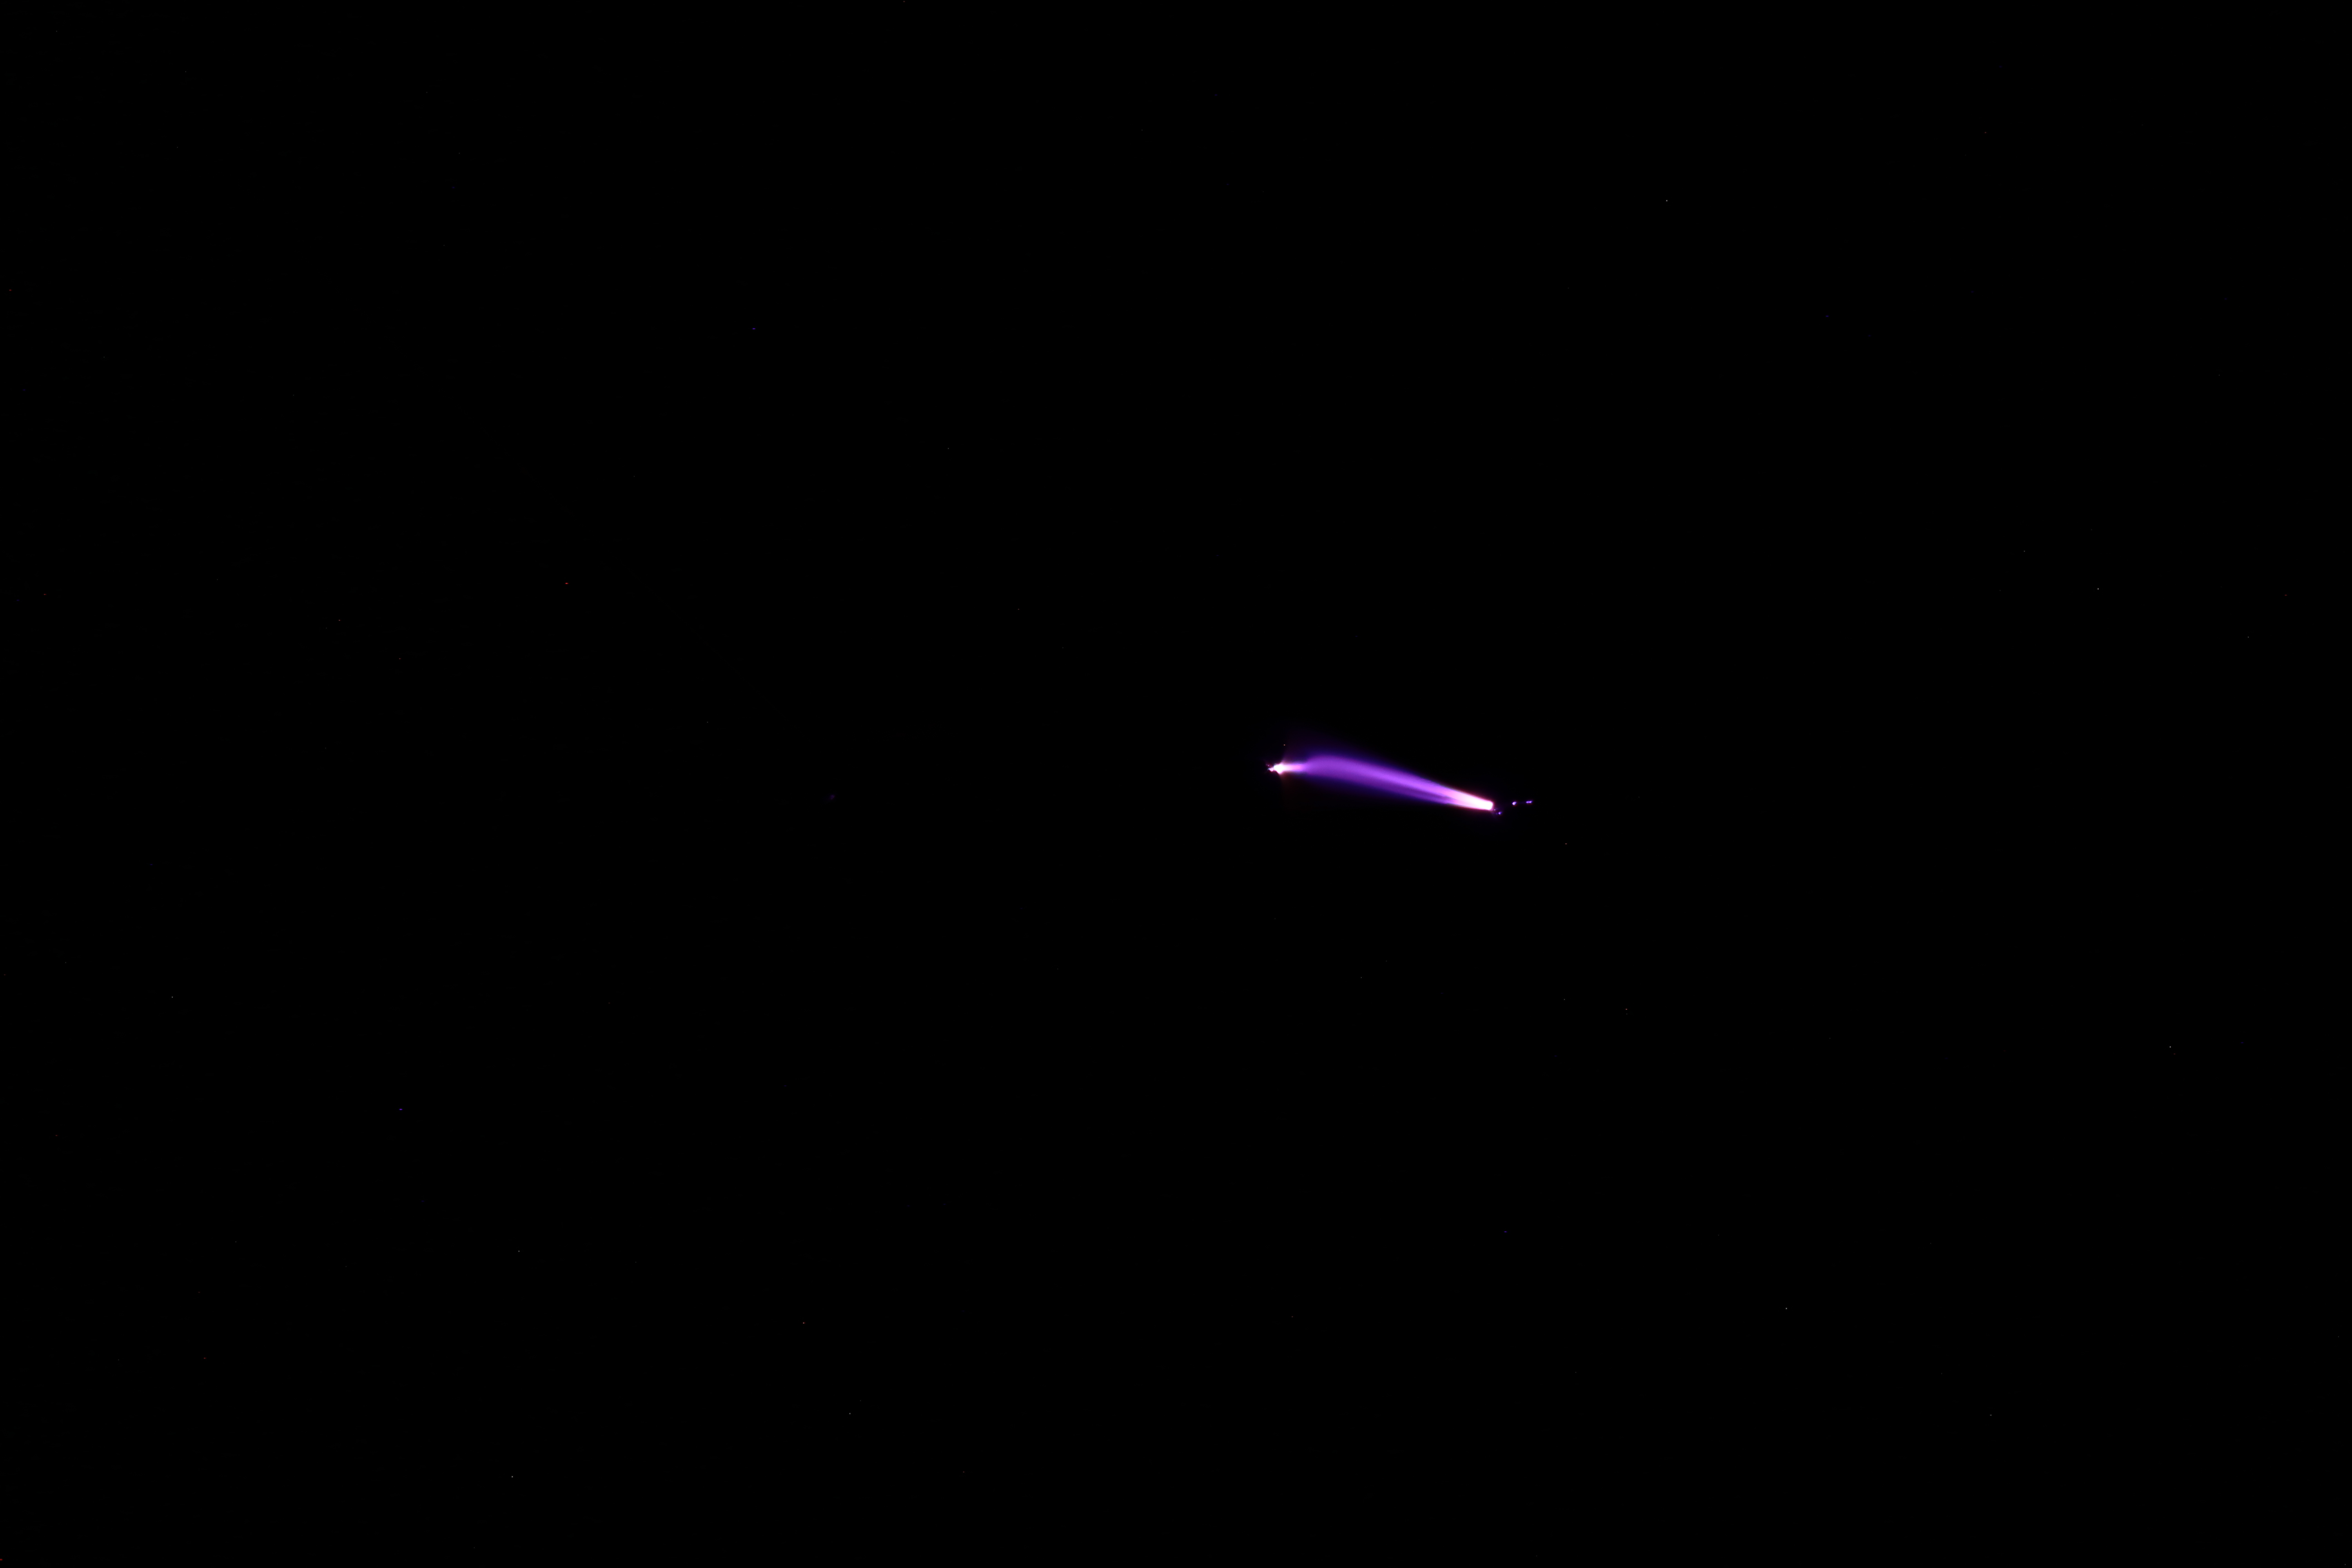
I decided I wanted to take some pictures of electric arcs, so I started by taking long exposure pictures of the arc produced by a small high voltage module, as well as some long exposure shots of corona discharge produced by the module:
These photos, as well as the rest in this project, were taken with the following process:
My DSLR camera was set up with low ISO, large-ish f-stop (about 15 ish if memory serves), and a long exposure time, about 4 seconds. The photos were all taken in a dark room in my basement at night. This way, with low ISO and high f-stop, even at 4 seconds exposure an image would turn out completely black. However, when corona discharge or electric arcs are in the frame, their light (which is quite a bit brighter than the surrounding room) does show up in the resulting images. (Also, check out this article if you don’t know what ISO, f-stop, or exposure time (AKA shutter speed) are, and you’re interested in learning.)
These images were ok, however the competition was not only about the science aspect of the images; the images would also be judged from a photography perspective, and I felt these images left much to be desired in terms of color and photographic composition.
The high voltage module I was using was bought from Amazon, and came with no documentation. The seller on Amazon claimed it could reach hundreds of thousands of volts, which was a total lie; when fed 6-12 volts, arcs would pulse across the output, but only when the spark gap was at most about 1cm wide, which even in the most generous ballpark means the voltage was under 50kV.
Below is an image of the high voltage module, which is about 4cm across.

In any case, when supplied with a steady current, the module creates multiple arcs per second, which is not what I wanted for the images. To ensure arcs would be created one at a time, I used a capacitor bank. This way, a fixed amount of charge, stored in the capacitors, was available to the module. By experimenting with different capacitance and voltage levels, I found that about 5000μF at around 15V was just perfect, yielding a single, powerful arc.
Below is an image of the capacitor bank used.

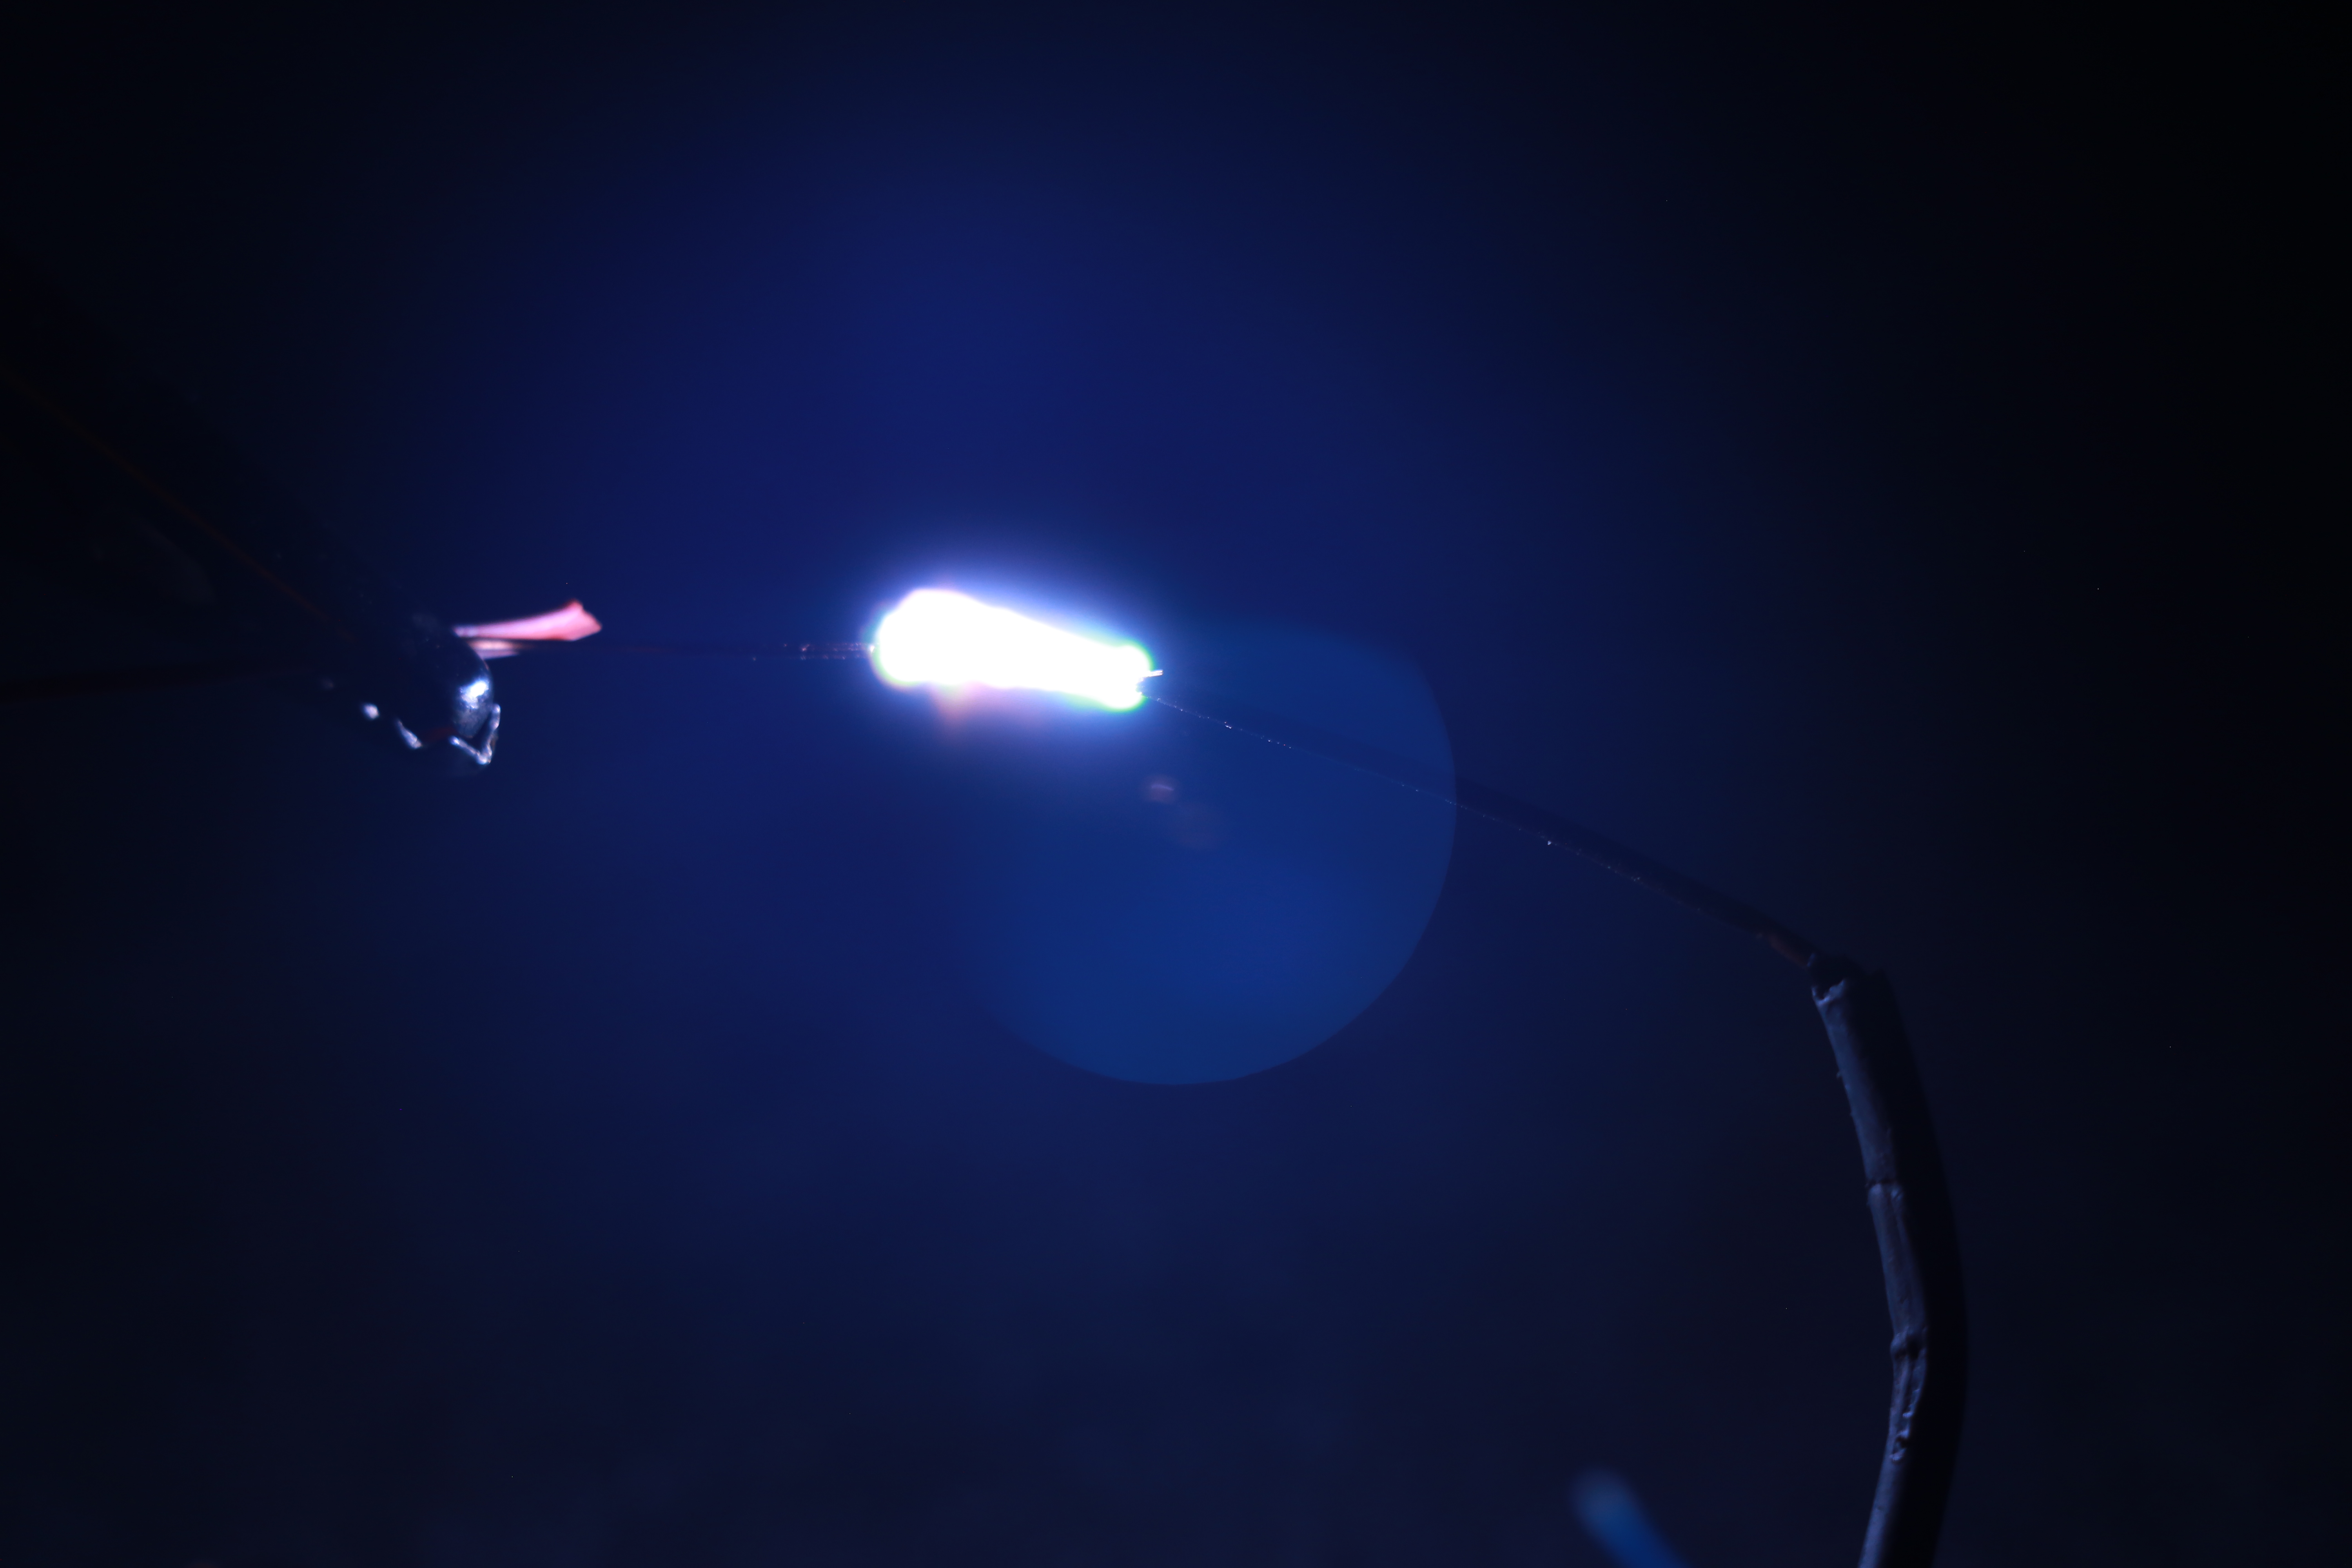
With this new method, I was able to take pictures of singular arcs, such as the picture below:
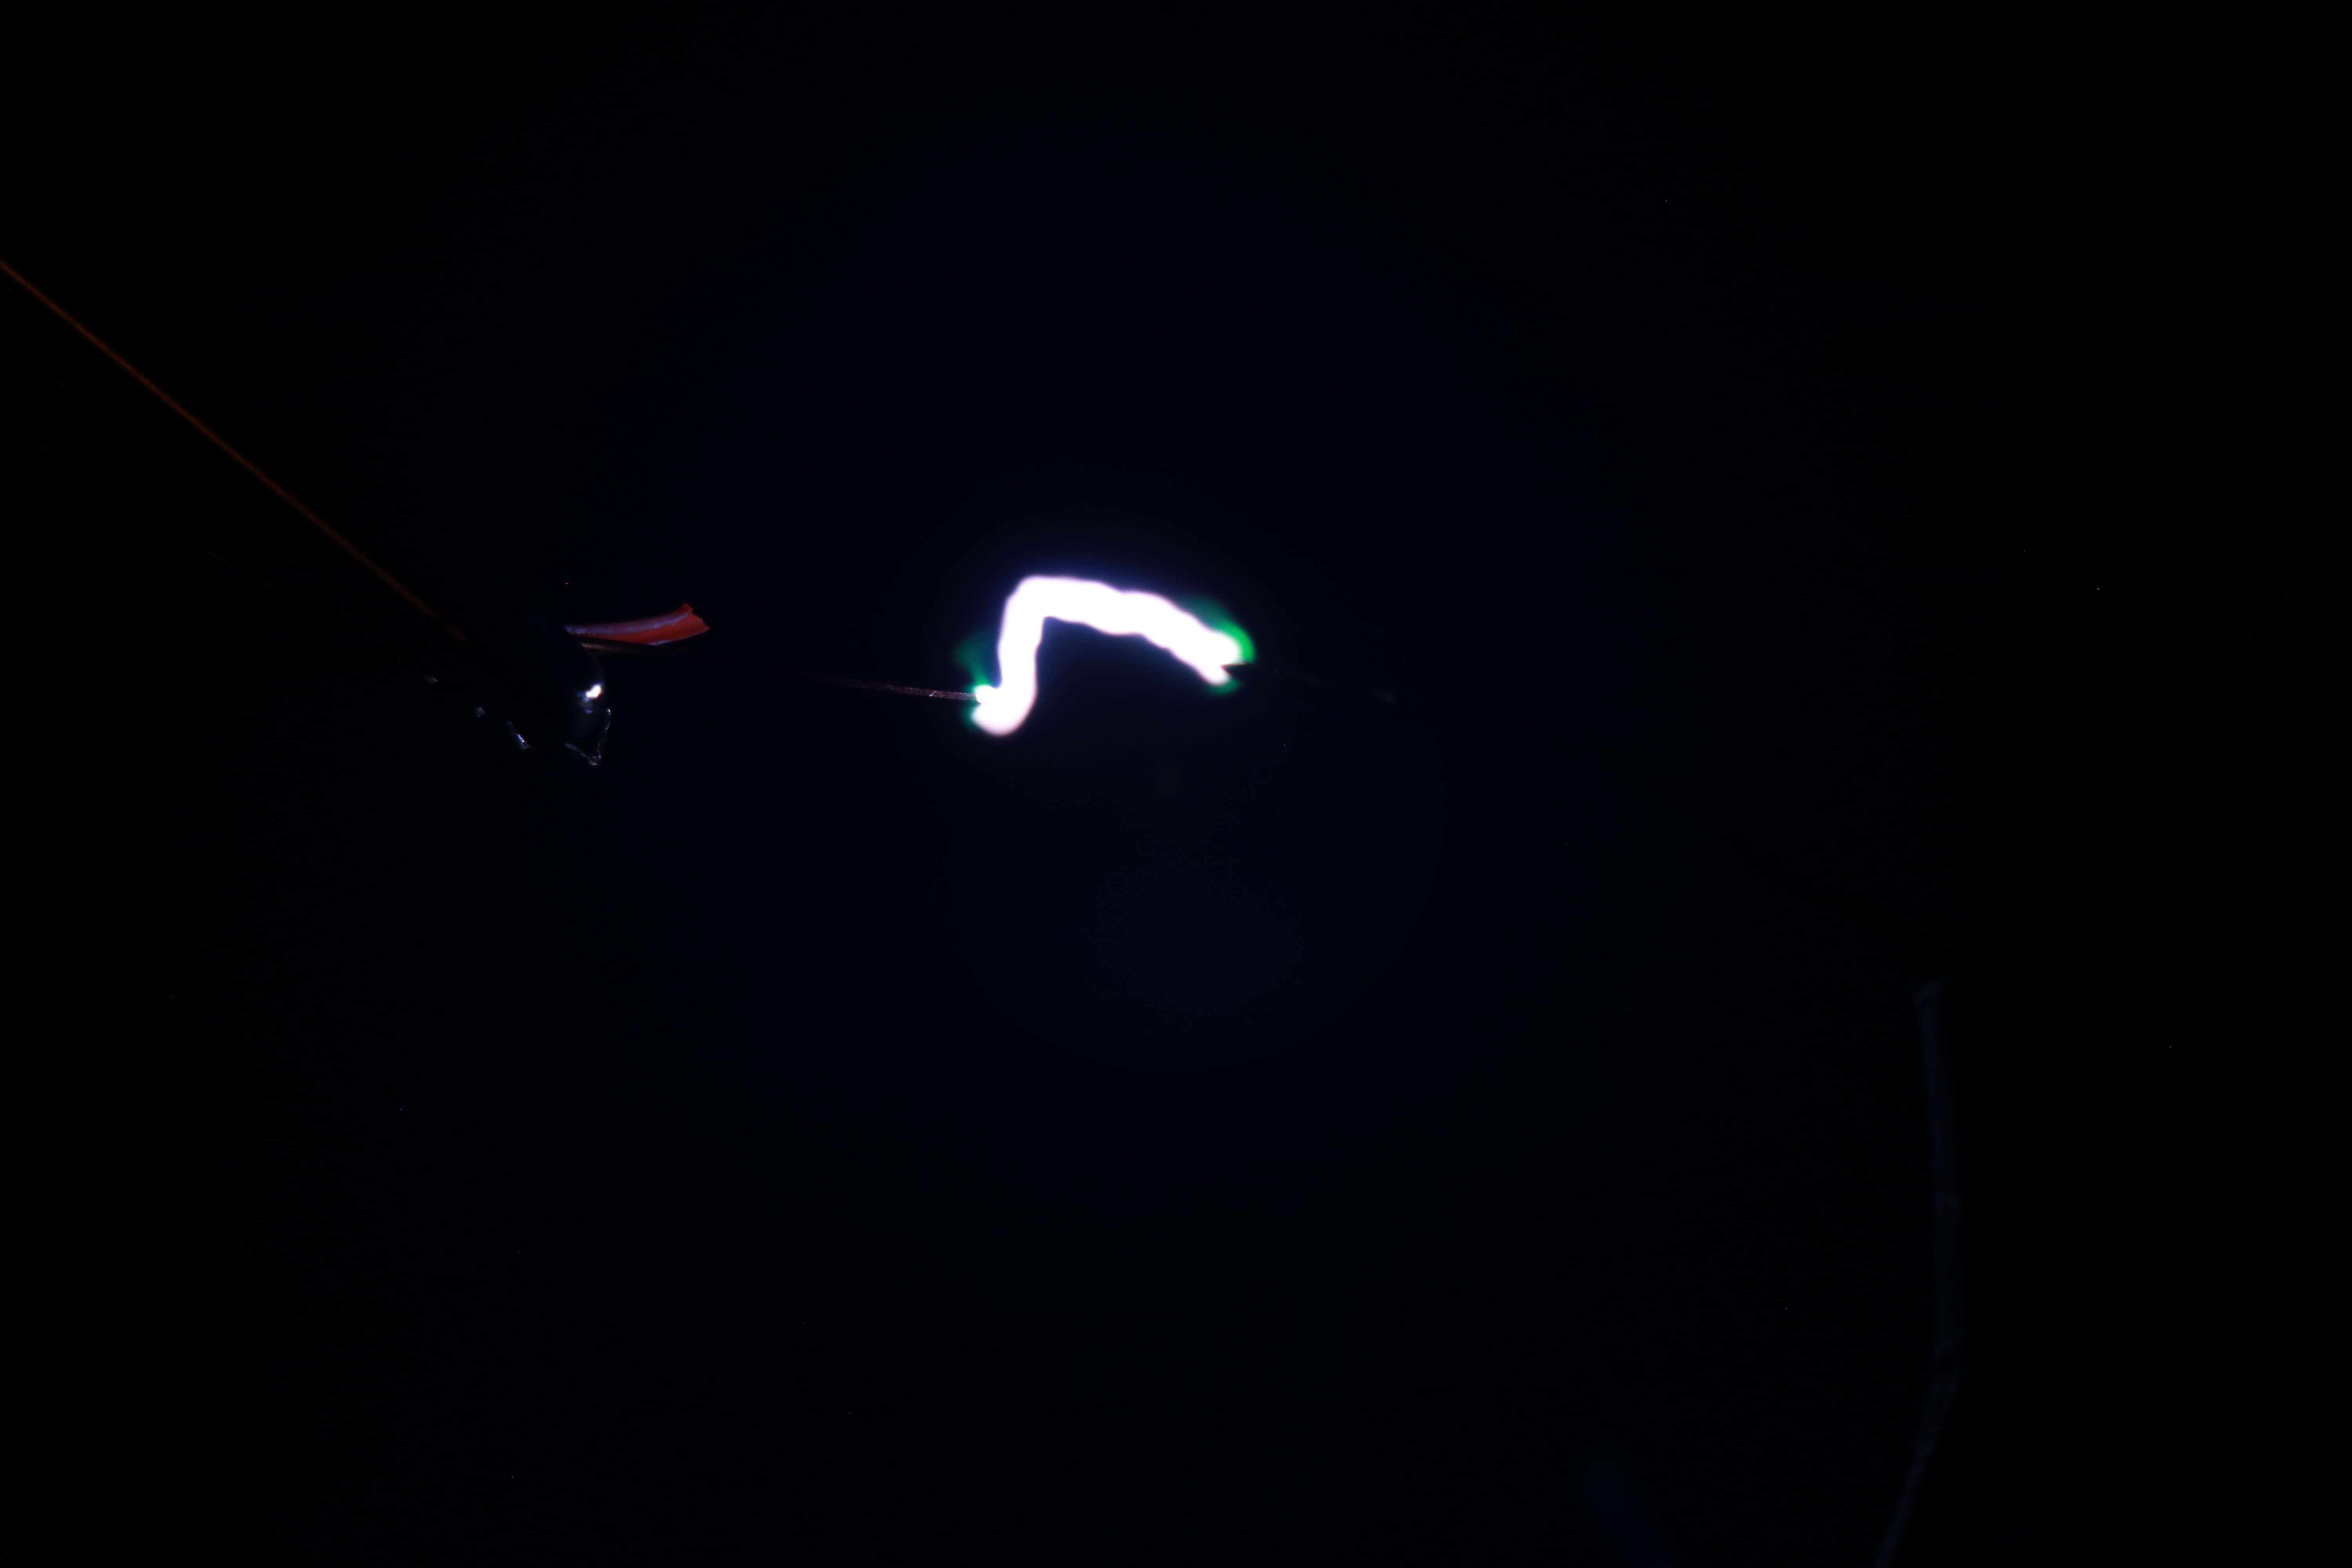
At this stage, I noticed something intriguing: there was a faint green aura around the edges of the copper wires acting as the spark gap, which made me think of emission spectra and how green is a characteristic emission / absorption color of copper as an element.
It was at this point that I had the bright idea to add some extra metal salts to the arc with the hopes of making the resulting images more interesting, and better contenders for the photo competition.
I had some powedered strontium carbonate from a pottery store and some homemade copper acetate crystals lying around, so I put a drop of water on each electrode (for adhesion), placed a copper acetate crystal on one electrode, and some strontium carbonate powder on the other electrode, and the results were beyond what I had imagined!
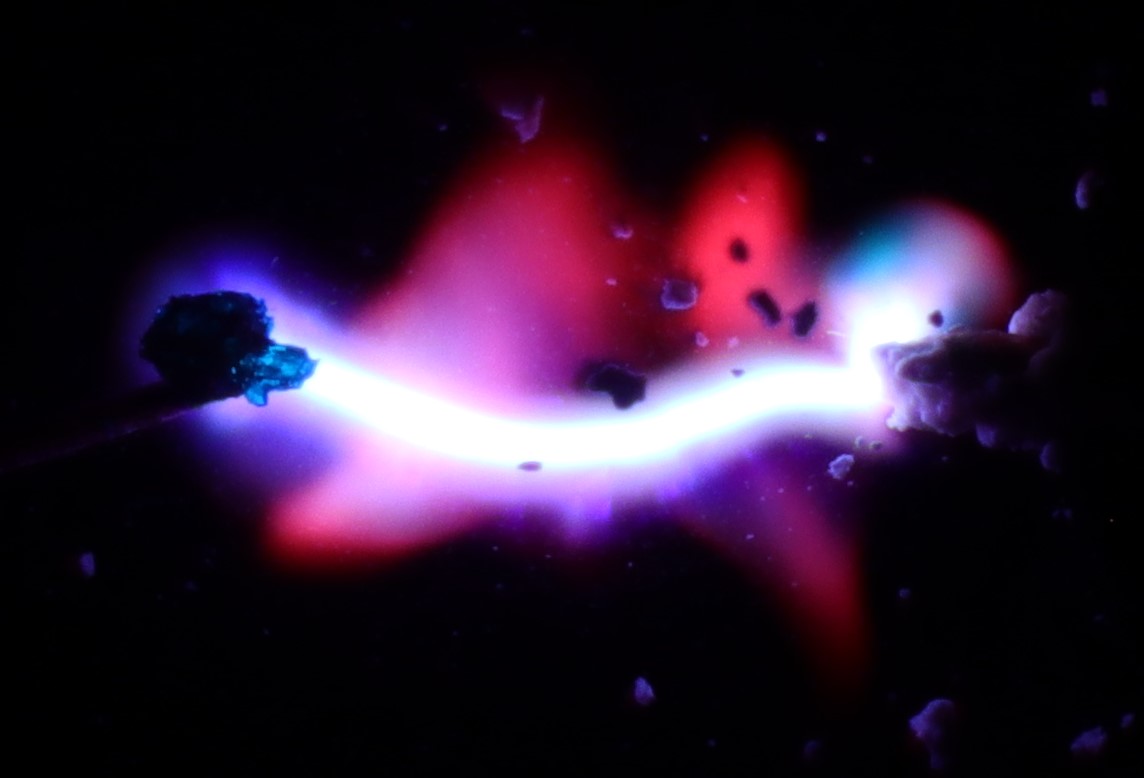
I was particularly surprised by the size of the colorful areas around the arc, and overall I was very excited when I first saw the pictures. The image above is the one which I submitted to the science photo contest, which won me first place! Not only did it show the phenomenon of quantized electron transitions in atoms (which give rise to the characteristic colors of elements, specifically red for strontium and blue/green for copper) as well as exhibit electric discharges, but it also had incredible colors and other elements of captivating photography.
In the future, I hope to take more pictures with a macro lens, allowing me to take pictures with better resolution; these pictures were all cropped rather extensively, since the arc was small and I used a camera that couldn’t focus up close (see this project).